
How to Affordably Mount Your Tapestry on Canvas
Our maps are made to wrap a stock blank canvas, or a few joined together. Here is which canvases fit each size, how to wrap it in an afternoon, and how to keep pins tight.
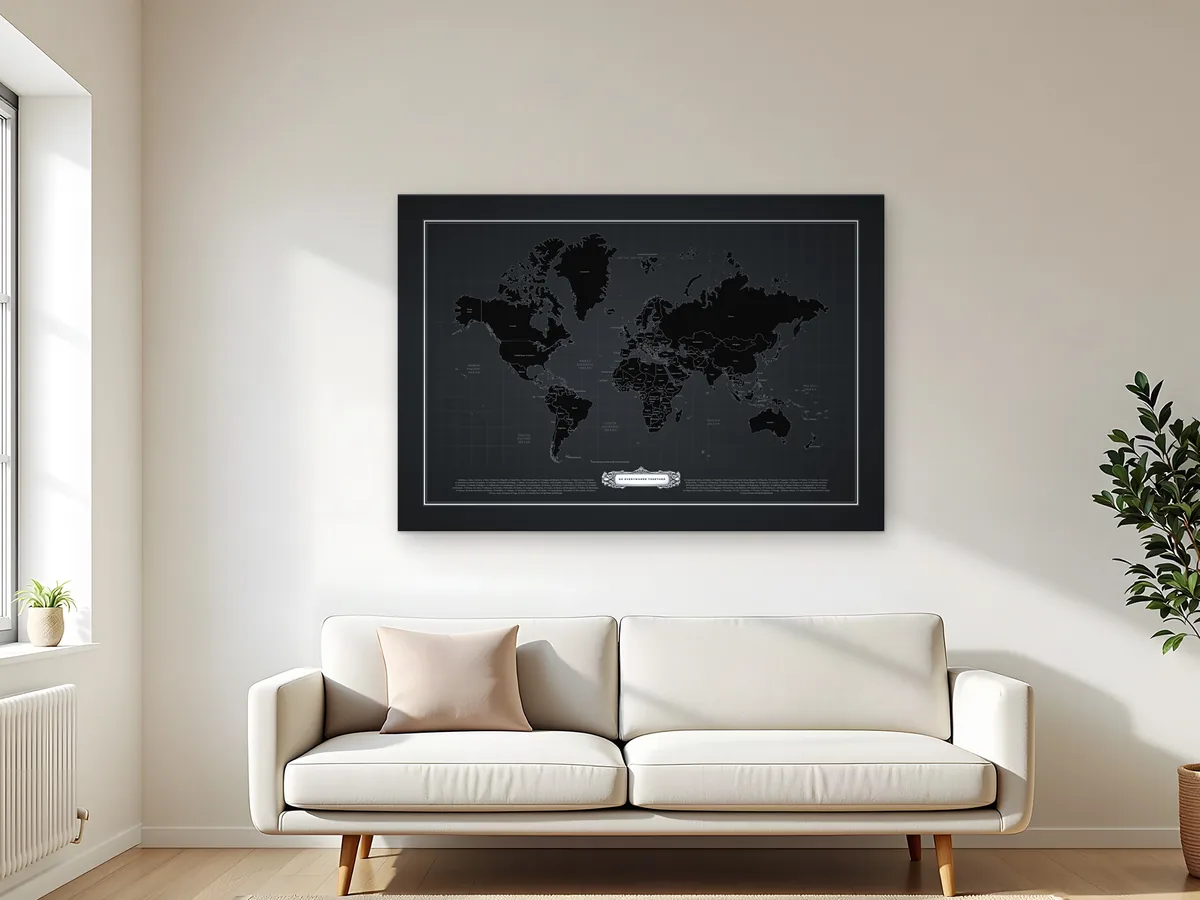
The most affordable way to mount a fabric tapestry with a finished look is to wrap it around a stock blank canvas from a craft store and staple the edges to the back, like a gallery-wrapped painting. You don't need a framer. It costs the price of the canvas and a few staples, and it takes an afternoon.
A fabric map is the easiest big piece of wall art to ship and to hang, but some walls want something with a little depth. We make travel map tapestries, and we design ours so they wrap around a stock blank canvas from a craft store like Hobby Lobby, or two or more canvases joined together. The canvas sizes below are for our maps; the wrapping steps work for any tapestry with enough fabric past the edge. Here's what's built into every map, which canvases fit each size, and how to wrap one.
The short version
- Buy a blank canvas, or two or more of the same depth, that matches the front of your map (sizes below).
- Steam or iron the creases out of the fabric.
- If you're using more than one canvas, join them on the back with flat mending plates.
- Center the canvas face down on the map, with the same 2 inches of fabric past each edge.
- Staple the middle of each side to the back, work out toward the corners every 2 to 3 inches, and fold the corners like a bed sheet.
- Hang it like any canvas, with a sawtooth hanger, a wire, or two hooks for the bigger sizes.
Why our maps fit a canvas
Every map size is named for its face, the part you see from the front, and that face is a standard canvas proportion (3 by 2). Around it, the fabric carries an extra 2 inches of ocean on every side. That edge wraps over the sides of a canvas and onto the back, where you staple it. Because it's plain ocean, nothing important gets lost around the edge, and the sides of the canvas look finished instead of cut off.
The shop lists each size by its whole piece of fabric, so a Medium is 40 × 28 inches overall and shows a 36 × 24 inch map on the front of the canvas. The extra 4 inches each way is the wrap.
Which canvases fit each size
Hobby Lobby's Master's Touch Grandeur canvases (about 1⅜ inches deep) come in all the sizes below. Two canvases side by side work just as well as one big one: the map hides the seam.
| Map size | Fabric | Front of the canvas | Canvases | Another way |
|---|---|---|---|---|
| Medium | 40 × 28 in | 36 × 24 in | One 24 × 36 | Two 18 × 24, side by side |
| Large | 52 × 36 in | 48 × 32 in | One 24 × 48, with three 8 × 16 along the bottom | Six 16 × 16, three across and two down |
| X-Large | 64 × 44 in | 60 × 40 in | Two 30 × 40, side by side | |
| Mongo | 76 × 52 in | 72 × 48 in | Two 36 × 48, side by side | Three 24 × 48, side by side |
Use canvases of the same depth so the sides line up, and check them in the store: lay them face down on the floor and make sure each one sits flat without rocking. Craft stores put canvas on sale often, so it's worth waiting for one.
What you'll need
- The canvas or canvases for your size (above)
- A staple gun with short staples (1/4 to 3/8 inch)
- For more than one canvas: flat mending plates (2 to 3 inches) and short wood screws, two plates across each seam
- A steamer or an iron on low with a pressing cloth
- A clean floor or a big table, and a second pair of hands for the Large and up
How to wrap it
- Get the creases out. Steam the map, or iron it face down on low through a cloth. A flat map wraps tight and square.
- Join the canvases. Lay them face down, edges pushed tight together and the corners flush. Screw two mending plates across each seam, into the wooden frames on the back. Check from the front that the seam is flat.
- Center the canvas on the map. Lay the map face down, then set the canvas face down on top of it. Measure: you want the same 2 inches of fabric showing past each edge.
- Staple the middle of each side first. On a 1⅜-inch-deep canvas about 5/8 inch of fabric reaches the back, so staple close to the outer edge of the frame. Pull the fabric over the edge and staple it to the back at the center of the top, then the bottom, then each side. Each pull should be snug but not hard enough to stretch the print.
- Work out toward the corners. Staple every 2 to 3 inches, alternating sides, so the tension stays even. Flip it over now and then to check the map is still straight.
- Fold the corners. Fold each corner like a hospital bed sheet: tuck the excess under, fold one neat flap over the corner, and staple it down.
Hang it like any canvas: a sawtooth hanger or a wire across the back, or for the bigger sizes, two hooks into the frame so it can't tip.
Border or borderless?
When you order, you choose Border or No Border. Both wrap the same way and cost the same. The difference is how tight the map looks on the front.
- Border puts the design's frame half an inch in from the front edge, so the map reads like a framed print. It's also the forgiving choice: if the map ends up a touch off-center on the canvas, the even band of ocean around the frame hides it.
- No border runs the map and its labels out to half an inch from the edge. More map, a cleaner modern look, and it fills the face. It shows any wobble more, so take your time centering it.
Pins and the wooden frames
Most of a canvas is just stretched fabric over open space, and a pin goes straight in. But every canvas has a wooden frame around its edge, and joined canvases have frames meeting at every seam. Some larger canvases also have a wooden brace across the middle. If a place you want to pin sits over wood, the pin won't push in the whole way.
Before you wrap, it helps to know where those wooden parts will land. With two canvases side by side the seam runs straight down the middle of the map, so hold the map up to the canvases and note which places sit over it.
If a pin won't sit tight against the map, trim the pin's point shorter with a wire cutter so it only needs to go a little way into the wood, then press it in firmly. Cut with the point aimed into a bag or a box, since the tip can fly, and keep fingers clear of the cut end.
Quick answers
What's the cheapest way to mount a tapestry?
Wrap it around a blank stretched canvas from a craft store and staple the fabric to the back of the frame. It looks like a gallery-wrapped painting and costs the price of the canvas and a few staples.
Can you put a tapestry on a canvas?
Yes, if the fabric extends a couple of inches past the edge of the canvas on every side, so it can wrap over the sides and be stapled on the back. Our maps carry 2 inches of plain ocean on every side for exactly this.
What size canvas do I need for a 52 x 36 inch tapestry?
For our Large map, which is 52 × 36 inches of fabric with a 48 × 32 inch front, use one 24 × 48 canvas with three 8 × 16 canvases along the bottom, or six 16 × 16 canvases, three across and two down.
Can you still push pins into a tapestry mounted on canvas?
Yes. Most of a canvas is stretched fabric over open space, so a pin goes straight in. Over the wooden frame or a seam between canvases, trim the pin's point shorter with a wire cutter and press it in firmly.
Just the pins, as low as $27
Programmable travel pins
6 pins was $34 $2712 pins was $49 $45
Holiday sale through Cyber Monday
Push them into the map, cork board or poster you already have. Tap any pin with a phone to open that trip, no app needed.
Shop the pinsThe full package: the holiday gift
The Starter Bundle
From $209
Black Friday: 12 bonus pins included ($45 value), through November 30.
Every trip they've taken, on their wall: a world or US map, 12 pins and a year of the Globetrotter Club, so a tap on any pin brings back that trip's photos, videos and song. We build the first 5 trip pages for them. A gift they'll remember every time they walk past it.
See the bundle
